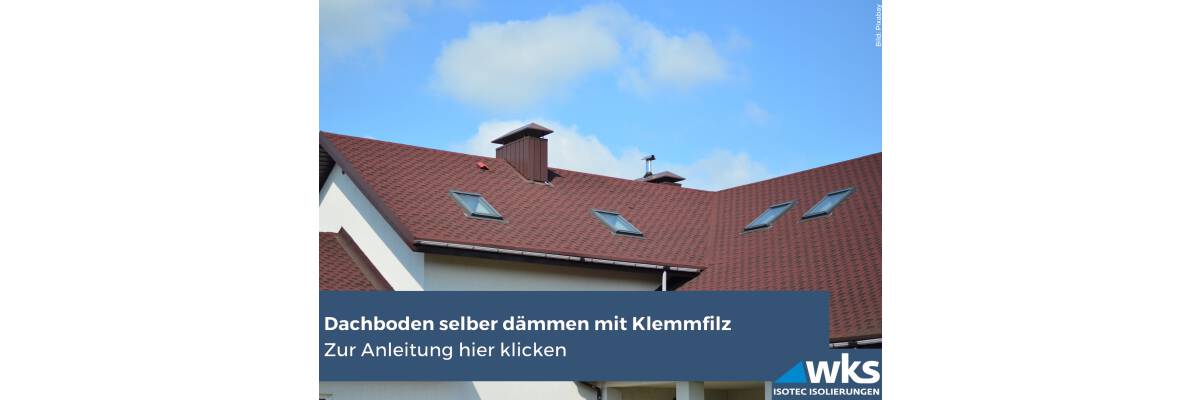
Doing roof insulation yourself | Between-rafter insulation | Step-by-step instructions
Christin Busch
Reading time approx. 6 minutes
Up to 30 % of heat is lost without insulation. Insulation between the rafters, under the rafters or on top of the rafters makes sense in any case to save heating costs and to heat in an energy-efficient way.
The Energy Saving Ordinance 2014 (EnEV 14) also stipulates by law that even unused attics of the top floor ceiling must be insulated. EnEV 14 specifies a heat transfer coefficient (U-value) of a maximum of 0.24 W/(m2K), which describes the heat loss of a building component. The lower this U-value, the better the thermal insulation.
Under-rafter insulation, between-rafter insulation or above-rafter insulation?
Which type of insulation is best depends mostly on the construction of the roof truss. The most common types are as follows:
- Between-rafter insulation
- Under-rafter insulation
- Above-rafter insulation
Under-rafter insulation as well as between-rafter insulation can also be done yourself with skill and DIY knowledge.
However, it is better to leave above-rafter insulation to a professional.
Doing between-rafter insulation yourself
In this article, you will learn how to insulate your attic yourself with felt. Alternatives to insulation with glass wool or rock wool can be rigid foam boards or renewable insulation materials such as hemp or cotton.

Before you start, check the following points:
- The roof must be open to diffusion, i.e. it must allow moisture to escape. Especially in older buildings, you will often find roofing felt under the tiles. Moisture can accumulate between this and the roof insulation and lead to damage such as mould.
- If your roof is not open to diffusion, a ventilation layer helps to remove the moisture.
- To achieve an optimal heat transfer coefficient (U-value), the insulation density should be 16 cm at best. If your rafters are not deep enough to fit this amount of insulation, you can help with squared timbers.
- The chosen insulation material (in this case clamping felt) should belong to the thermal conductivity group 035 to 040.
INFO: The lower the U-value, the better the insulation.
How to insulate a roof - step by step
Measure and double up the rafters
- Measure the total insulation thickness
- If necessary, double the rafters with squared timbers (at least 16 cm).
In older houses and old buildings, the rafters are sometimes only 10 cm thick. However, in order to achieve the best possible insulation later, the total insulation thickness of the rafters should measure at least 16 cm. For your individually suitable insulation thickness, orientate yourself on the thermal conductivity group of your insulation material (thermal conductivity group 035 to 040) - here, a thickness of 20 cm -24 cm is best.
If there is not enough space to achieve the total insulation thickness, use appropriately thick squared timbers and screw them onto the existing rafters so that they are at least 16 cm deep.
Installing the underlay foil for the roof insulation
- Cut the underlay foil to size with a cutter.
- Stretch the foil between the rafters and the tiles.
- Tape the seams with suitable adhesive tape
Between the rafters and the roof tiles you need an underlay foil (diffusion-open), which is usually already present in modern buildings. An underlay foil protects the insulation material from penetrating moisture from the outside. In addition, the humidity of the living space or attic can be transported to the outside via the foil.
Use a cutter knife to cut the underlay foil with an overlap of 10 cm on all sides. The foil is stretched between the rafters and the roof tiles - the foil should sag a little to allow condensation to drain off. Foil overlaps should be at least 10 cm.
Tape all seams with a suitable adhesive tape so that you finally have a closed surface for the insulation.
Cut the insulation material for the roof
Cut the insulation material to size with an insulation knife and an allowance of 1-2 cm. This makes it easier for you to clamp clamping felt, mineral wool and the like between the rafters. It is best to use a protractor or a measuring rod to cut the material to size.
Insert roof insulation material
- Clamp the insulation material between the rafters.
- Avoid gaps
Press the cut insulation material lightly between the rafters. The line mark should point to the room side.
All insulation elements should lie next to each other with as few gaps as possible, this way the insulation effect will be the highest later on. Take particular care to avoid gaps at transitions, corners and connections.
Apply the vapour barrier foil
- Stick the sealing tape to the rafters
- Vapour control film is applied overlapping
To ensure that the vapour control layer does not lose its effect when stapled later, you should stick a sealing tape to the rafters.
Then pull the sheets of vapour control film horizontally over the rafters from top to bottom and overlap them. Here, too, orientate yourself on the 10 cm that should protrude. Fasten the vapour control layer so that it is not under tension. A compressed air tacker is best suited for this purpose.
Bonding the seams of the vapour control film
You should seal transitions, seams and staples with a special adhesive tape. For wall connections, a sealing adhesive is better suited to seal gaps.
Make sure the vapour control layer is as airtight as possible and without tension. Otherwise, warm air could condense and damage the insulation and the roof truss.


